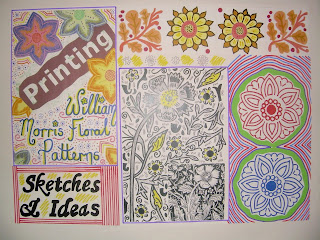
For our assessment we had to produce a series of A2 sheets where we could pick a pathway of our own, to research and create a detailed analysis of a beginning, middle and end result. The artist that i decided to study was William Morris, the English textile designer. His major contribution to the Arts world, was being a designer of repeat patterns for wallpapers and textiles. Many were based on a close observation of nature, which included a floral or foliage motif. These designs i found to be intricate and eye catching as i also like to draw floral patterns. Morris designed patterns
for diverse items such as stained glass and textiles. The workshop that i
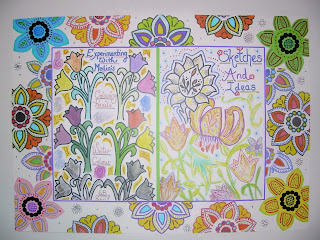
used to complete this task was 'printmaking.' I began experimenting with different medias such as water colours, colouring pencils and 6B pencil. I then started doing some experimental sketches and ideas illustrated above. From this i then researched more designs by Morris, for inspiration to grasp a better understanding of his work.
I also included some information about his
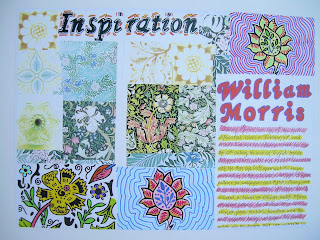
background to state some factual information. To follow, i picked my 3 favourite designs, evident opposite, where i intend to transfer them
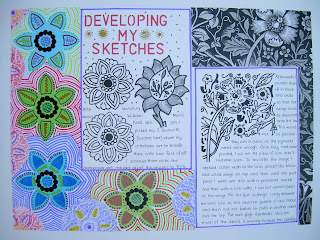
to lino. I scanned them into the photocopier, reducing the images to 70%, printed them off in black and white so that the design can be duplicated onto lino using screen wash. Ithen went over the designs in permanent ink. For each o
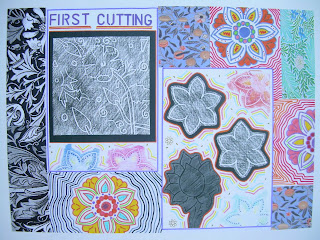
f the lino's i wanted to cut more and more out each time so that added detail can printed separately, therefore in a different colour. The picture opposite shows my 3 images where i have just cut out the basic outline. I then printed 10 sets of each of my designs to be the basis of my prints. I put a piece of paper over my lino and used graphite to do a rubbing to show how much i cut out. Once i had my 30 prints, i then cut out more of my lino such as the detail of the flowers. I had to use a variety of lino cutters to create the detail. For the areas that were larger i used a wide cutter so that i could cut away more of the lino each time. With the 30 prints that i already had, i simple inked up my lino in a different colour
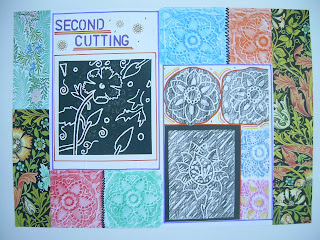
and had to carefully line up the lino with the design that was already present so that this can be printed on top and create the desired effect. If it isn't lined up correctly then the print is ruined as the ink will go in the white spaces which i have already cut away. For my third and final cutting i removed practically all of the lino as what i had already printed i wanted to keep. The page intilted 'third cutting' below, illustrates the indentation from the graphite rubbing which shows that most of the detail has now vanished. Once again i had to line up the border of the print exactly to finish off my prints. This time it was even more nerve wracking that i lined it up
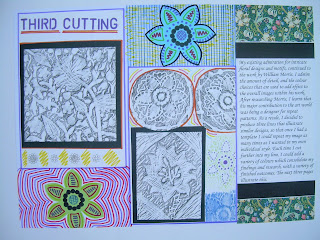
efficiently otherwise i would ruin the previous prints, knowing that i had already removed the lino which i wouldn't be able to stick back on again! Each time that i printed the sets of lino i had to opt for colours that would work. For example my base colour had to be fairly light so that i could print a darker colour on top. Therefore, my final colour that i printed is the darkest colour. Below shows an arrangement of my three finished designs which include a variety of colours. Overall i enjoyed this task although it was very time consuming cutting the detail in the lino and waiting each time for 30 prints to dry to then re-print another colour on
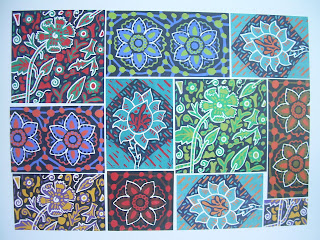
top.


 Our task was to QUICKLY complete a fanzine from scrap materials and magazines. We had to produce 20 images, which must include a specific shape - in my case a diamond, which can vary in size. Below represents a selection of my collages.


